Choosing a Font in Clip Studio Paint
Choosing a font in Clip Studio Paint can be a pain in the neck. But there is some help if you click some tiny buttons. It’s just a little hidden.
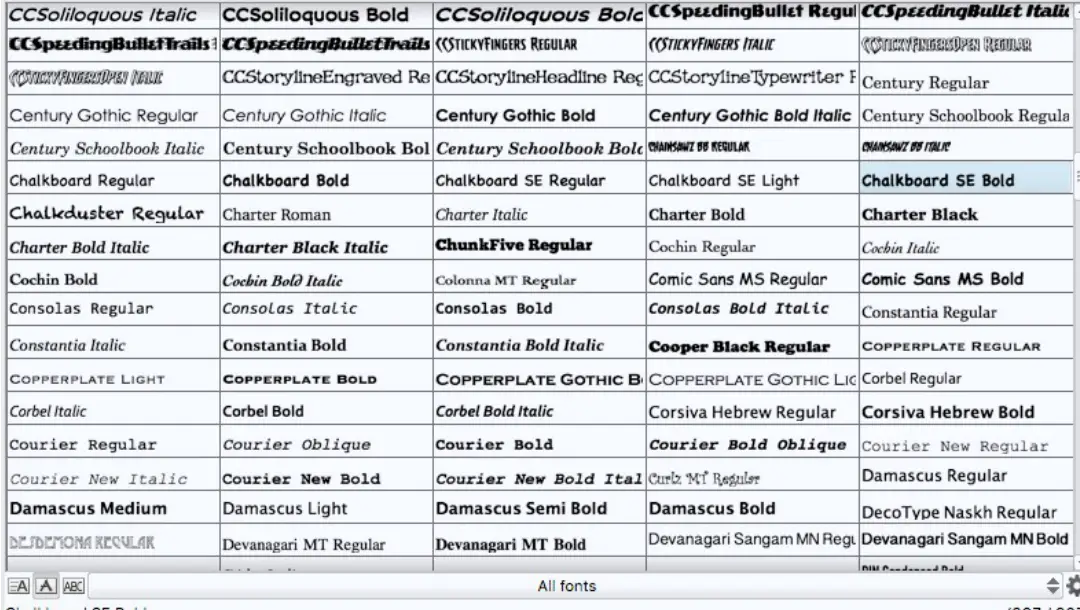
In the Text tool properties, click on the Font drop down too show a list of fonts available for your use.

If you have a lot of fonts installed in your system — and you can see I’m pushing 1000 here — that drop down list is prohibitively long. Remembering what each font looks like by name is a skill that I don’t have. Clip Studio Paint can help you out a little, though, by listing the fonts in three different ways.
At the bottom, you’ll see three tiny buttons. I hope you have a big screen.
Here, let me zoom in on it for you.

I’ll cover them from left to right:
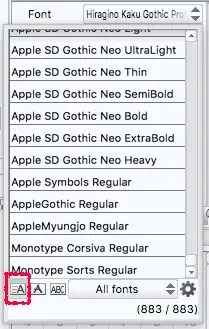
- By default, you get the button on the far left — the A with the horizontal lines next to it. Clip Studio Paint shows a list of font names in alphabetical order in the same font all the way down.
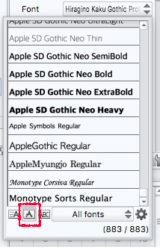
2. The middle button, though, shows the font list in alphabetical order in the style of the font, itself. (I like the looks of AppleGothic as a font…)
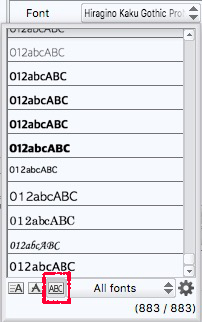
3. The button on the right will list the fonts in alphabetical order using the highlighted text instead of the font name, but in the style of the font. It’s a nice idea, but it’s so small on your screen that it’s still hard to judge.
Also, as you use CSP more, you’ll find yourself relying on a core set of fonts. You’ll start remembering their names and choosing them based on that. At some point, all the fonts trying to be Helvetica start to blend together, and this method will suffer.
If you have no text highlighted, Clip Studio Paint will give you a default selection of text with letters and numbers, as seen in the screen shot above.
Bonus Tip: View More Fonts
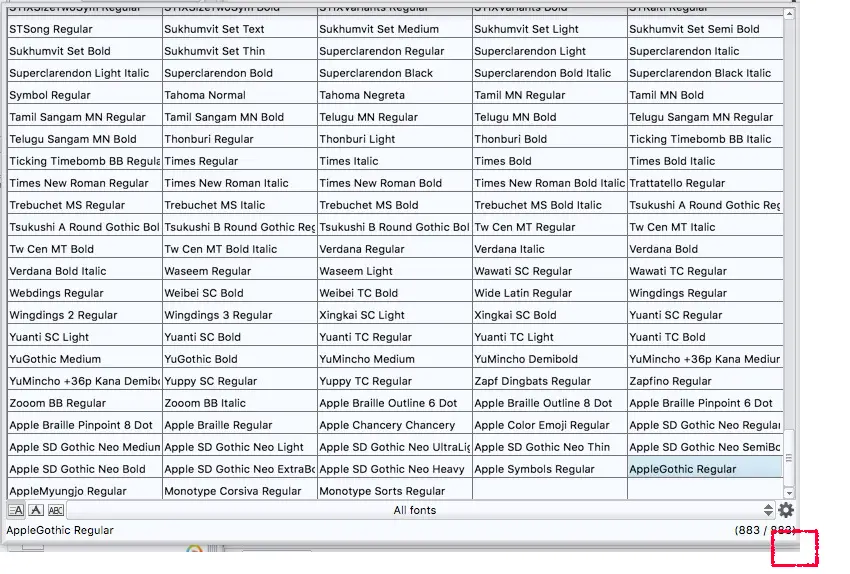
The pane that shows the list of fonts is re-sizable. Assuming your pane is on the left side of the screen, grab the lower right corner and drag it away to increase the number of fonts on display. Clip Studio Paint will not remember how you had resized it the next time you go back to the list, though.
The Take Away
In a perfect world, the highlighted text in the image would change as you hovered over each font. That kind of early preview would be very helpful.
Choosing between these three settings might help you focus in on just the font you want to select. Personally, I like the middle option the best. It’s not as legible as I’d like it to be, but it’s clear enough. Extending out the size of the window is nice, but gets tedious after doing it too many times in a row.
If you rely on a core set of fonts, you can simplify this process a lot by making a new font list, which we will cover later this week.
Bonus Q&A
How To Add Fonts to Clip Studio Paint?
You can’t.
The fonts you see in Clip Studio Paint come from your operating system’s font library. If there’s a font you want to use in CSP, add it to your computer’s font library and it’ll appear inside CSP. (In the Mac’s case, double click on the font file to open it in FontBook and then click the “Install Font” button.)
How Can I Better Organize My Fonts Inside of CSP?
Glad you asked, because I have a whole article on that. Go read “Finding Fonts Easier With Font List.” It’ll show you how to create collections of fonts so you can find them easier. It’s a technique that’s specific to CSP.


SO many options