How Do I Create a Title Image?
You see them all over the web: large images that are faded out just enough for lettering to sit on top of them, clearly legible.
Sometimes, it’s only the area under the lettering that’s faded out. Other times, the whole image takes on one color tint as it is faded out. In either case, the lettering is clear to read.
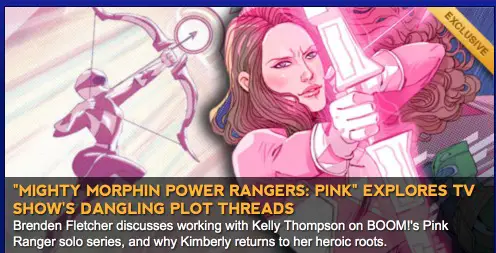
Here’s how they work at ComicBookResources.com, where it’s just a strip along the bottom of the image for the lettering:
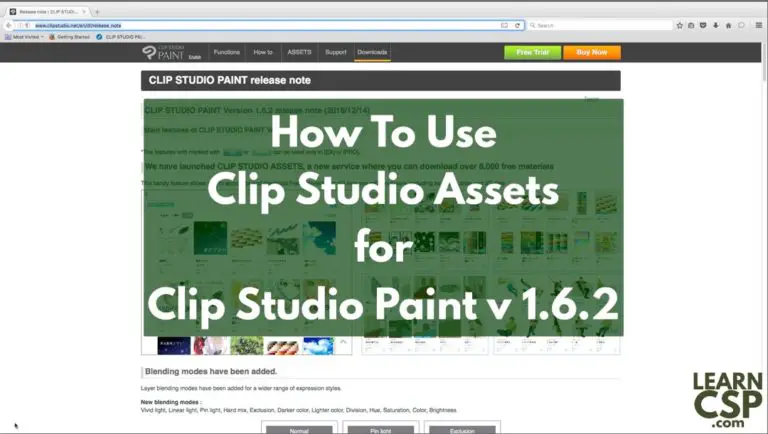
This is what a front page of TheVerge.com looks like, for example:

Lots of rectangles, all in the same style: White lettering atop a faded and color keyed image.
Generally speaking, this is done with the right CSS code. But what if you want that look for an image of your own? Maybe you want to put together a motivational image for Pinterest or Instagram.
Can we do that in Clip Studio Paint?
Of course we can, thanks to the glory of layers.
Add a Black Layer
The key to this whole thing is to add a new layer above your image. Paint it black. Then change the opacity for the layer.
Let’s do this with an example.
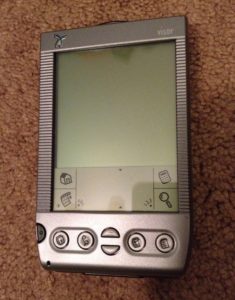
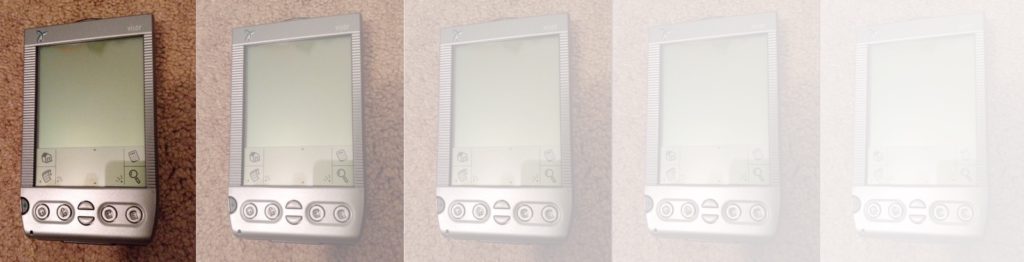
Here’s a picture of my trusty PDA, the Handspring Visor. (Welcome to LearnCSP 1999.)
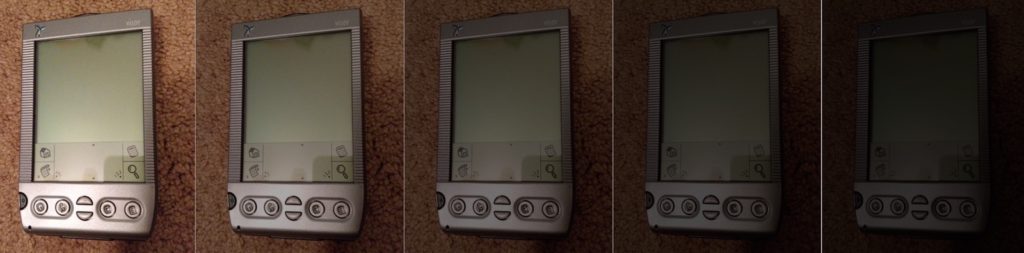
Let’s add a new layer on top of it, then fill that layer with black. The trick to this is to use the Fill (G) tool, and choose the “Refer edited layer only” option. Set your color to black, then click anywhere on the image to fill it. This effectively darkens the image.
If it isn’t dark enough for you, fill the area in again. If you go too far, use the opacity slider to lower the effect, or CMD-Z to undo the last fill.
Here’s how the image looks with each successive fill:
This is also how you can change the image into something color keyed. Instead of black, pick another color. Look at the Verge examples above and you can see green and purple tints, as well.
You can also go the opposite direction and lighten the image with white layers.
Each picture will be different, so you need to play with this until you find something that works for you.
Yes, you could just make the next layer up 100% black or white and then adjust it with the opacity slider, but I like this method more. It helps me to see the change and build up the level of darkness or lightness I’m adding to the image as I go. I use the opacity slider for minor tweaks to get between those fills.
Add Text
After that, you can add your text on top of your image. If you lightened the image with white layers, you should use a black or other darker color for the lettering. If you darkened the image, use white or a lighter color. We’re looking for contrast here for easier readability.
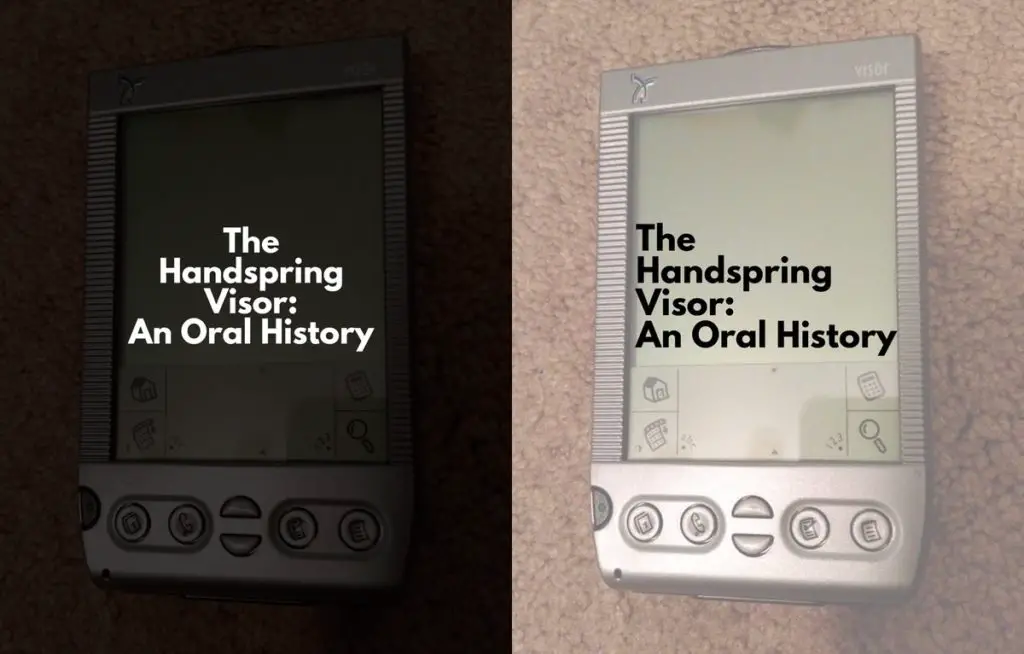
Please keep in mind that I’m demonstrating a technique here, and not proper graphic design principles. The left one is probably too dark. The right one has lettering that touches the edge of the screen in a bad tangent kind of way.
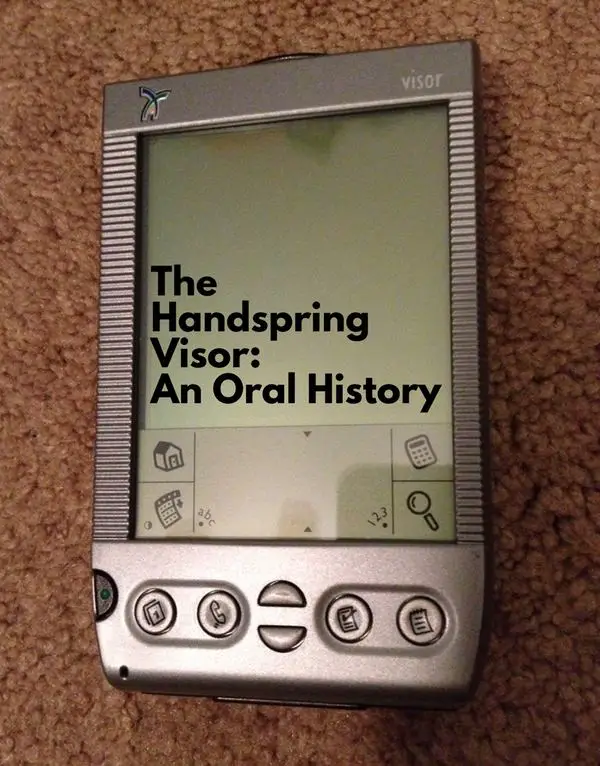
Speaking of that screen, you could also do this without the extra black or white filter. Just put this text on the screen directly:
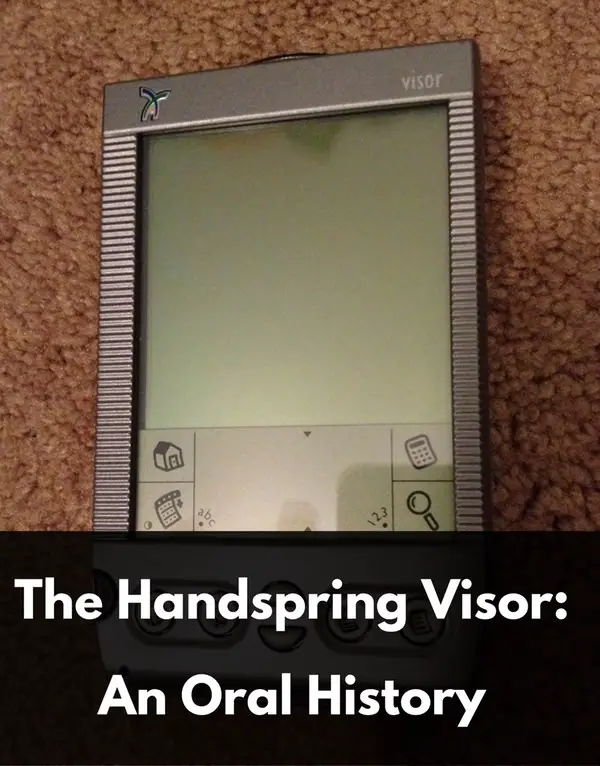
Adjusting Part of the Screen
What if you want more the CBR look over the Verge look? How would you just darken up a portion of the screen?
You can add a new layer and then draw in the area you want to be darkened. Use the Rectangle Marquee tool (part of the Lasso (L) family), outline the area you want changed, and fill that area in.
Quick Tip: If you’re doing this to match the size of the text you’re going to place on the image, then put the text in first so you know how big to make the rectangle.
Third Party Solutions
Now, if you don’t want to go through all of this, there is an alternative.
The site I’d recommend is Canva.com. It lets you put together an image and some text and save it in PDF or JPG format. It’s a free service with some small charges if you want to buy things like stock images they offer.
But you already paid for Clip Studio Paint, so go with the tool you know! Play with the various parameters and see what you might come up with!