Finding Fonts Easier With Font Lists
Picking a font in Clip Studio Paint is not terribly easy, but you can narrow down your choices with some up front work to prepare font lists.
You may have seen these in font manager programs. I use the one that comes with the Mac OS, called Font Book, for example. As you can see on the left side of the window, it lets you create families of fonts.
You can do that in Clip Studio Paint, too!
The Glory of Font Lists
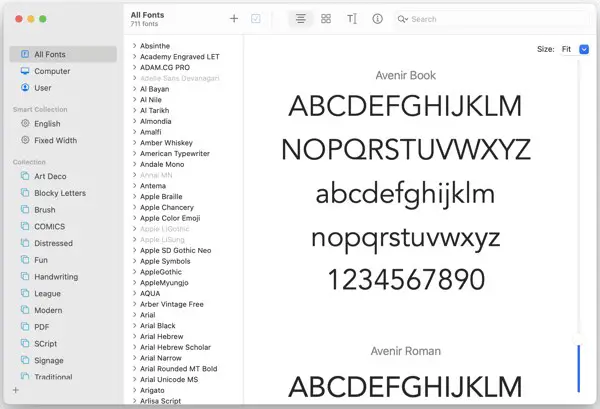
Just click the font dropdown list inside the Text tool. At the bottom of the list of fonts, you’ll see the three buttons you can use to style the font selections. Just to the right, you’ll see another dropdown with the default option, “All Fonts”. That’s the current collection you’re looking at. It’s the default.

Click on the gear button next to that to bring up a new window: the Settings of Font List window. (Not the greatest wording there, but this is not a natively English program, and one must make allowances.)
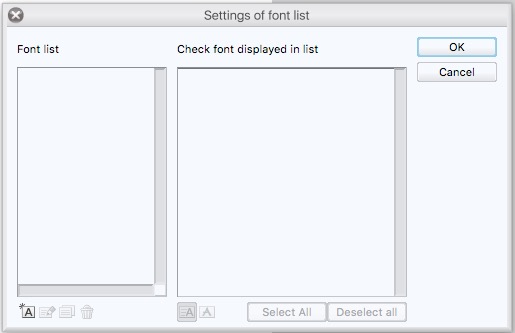
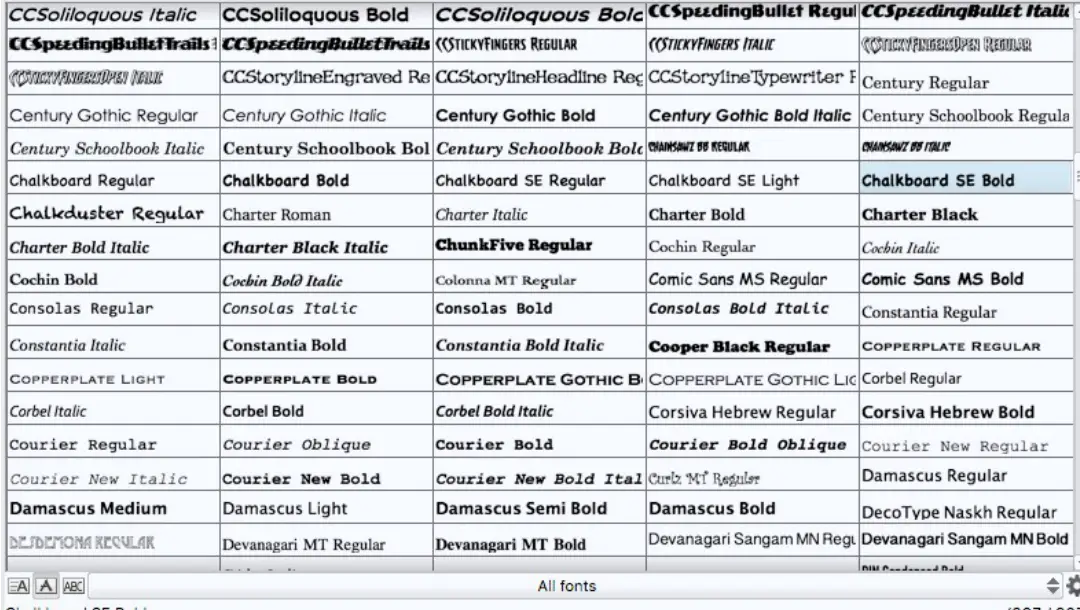
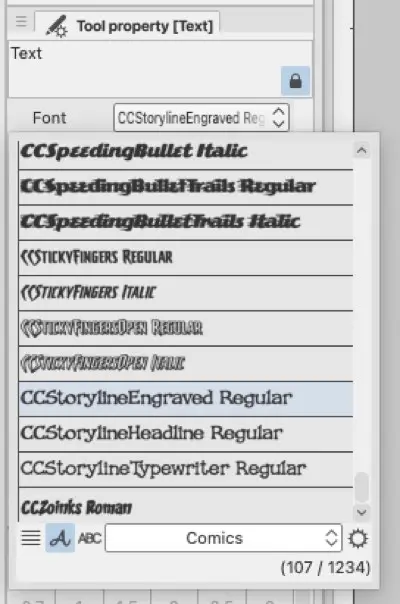
In the bottom left, the only button you can click is the new font list button. (See “1” below.) It has the A on it with the little star in the corner. Click it to create a collection. For this tutorial, I’m going to make a collection of all my comic book themed fonts. I’ll name it Comics. Clever, right?
Eventually, I’ll break it further down for myself into lists of sound effects fonts, dialogue fonts, and signage fonts. But for the purposes of this tutorial, this will do.
After you’ve added at least one font list, those icons in the lower left will be available to you.
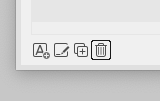
From left to right, those tools will allow you to Add a new list, Change the name of a font list, Make a Copy of the selected font list, or Delete the selected font list.
Load Up On Fonts!
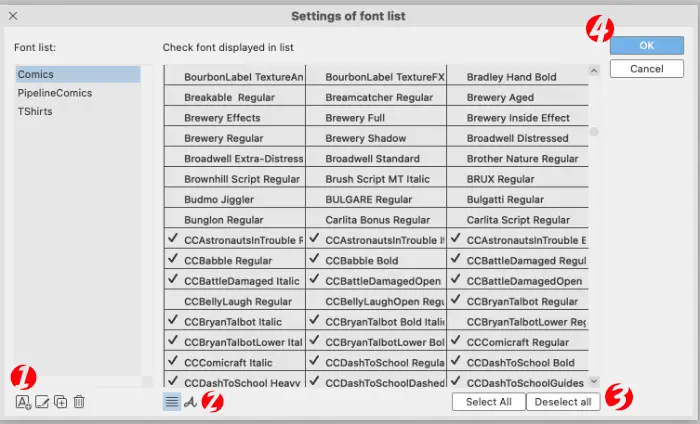
In the previous step, you clicked the button marked with a “1” here to bring up the entire list of fonts available on your machine. Scroll through it and pick the ones you like to add it to the list. You might also want to click on the little button underneath that has the stylized “A” on it. (See “2”.) The full font now displays in the style of each font.
I’m cheating. Most of the comics fonts I have here are from Comicraft, who are nice enough to prefix all their fonts with CC so they line up easily.
Unfortunately, you can’t click the first and shift click the last to get all the selections inbetween. You do have to click on each and every font. If you have a large selection of fonts to go in this list, it might take a little while. Just remember that the time savings down the line is well worth it.
You can click anywhere on that field with the font name to select/deselect it.
And, of course, you have Select All and Deselect All buttons underneath (“3”) if you want to start over or if you’re choosing so many fonts that it makes more sense to remove fonts from your intended list rather than add from nothing.
Click OK when you’re finished. (“4”) Now, go back to the Font dropdown and look at the dropdown list at the bottom of that and you’ll see your new list added there.
To Sum It All Up
- Click the Font list dropdown.
- Click on the Gear button in the bottom right corner.
- Create a new list.
- Add relevant fonts.
- Enjoy organization.
Updated
Originally Published: July 2016
September 2021: Replace screenshots from v1.5.4 to v1.10.10, and update Mac OS X screen shots. Edited a few bits of text, too, to match the screen shots.